Have you ever needed to send an email that looks like it was sent earlier than it actually was? Maybe you’re catching up on work and need to align your emails with project timelines. We’ve all been there, and we know how crucial it can be to maintain a seamless flow of communication.
In this article, we’ll guide you through the steps to backdate an email in Outlook, ensuring you can manage your correspondence effectively. It’s simpler than you might think, and with our tips, you’ll be able to handle this task like a pro.
Stay tuned as we dive into the ins and outs of manipulating email send dates within Outlook. Whether it’s for organizational purposes or aligning with deadlines, we’ll show you how to do it efficiently and ethically.
Understanding the Importance of Backdating Emails in Outlook
When we navigate through the nuances of business communication, aligning our emails with specific timelines can be crucial for project management and record-keeping. There are moments when backdating an email ensures that the flow of information corresponds accurately with a timeline of events or decisions made.
In the complex world of project management, emails serve as crucial touchpoints that document progress and exchange of critical data. For instance, if we’re juggling multiple tasks and we forget to send an update on the day it was due, backdating the email can maintain the continuity of the project documentation, making it appear as though the communication was sent on the intended date.
Moreover, when working across different time zones, we’ve found that backdating helps rectify the discrepancies caused by delays or ahead-of-time email deliveries. It’s about ensuring that the documentation reflects the local time relevant to the project’s milestones.
- Maintains continuity: Helps present information in a cohesive timeline.
- Ensures accuracy: Aligns with the actual date of decisions or actions.
- Rectifies time zone issues: Standardizes communications across regions.
It’s also important to understand that while we explain how to backdate emails in Outlook, it isn’t a feature natively supported by the software. Instead, we’re leveraging certain workarounds that mimic the backdating process. It’s our responsibility to use these methods ethically and within the boundaries of our professional standards.
Step 1: Adjusting the Date and Time Settings in Outlook
To initiate the process of backdating an email, we must first adjust the date and time settings on our computers. This is because Outlook pulls the timestamp for emails from the system clock. Changing the system date and time will cause new emails to display the altered time as their sent time.
Let’s walk through the steps involved:
- Access the Date and Time Settings: We do this by right-clicking on the time display on the taskbar and selecting ‘Adjust date/time’.
- Disable Automatic Time Settings: Often, our computers are set to automatically synchronize the time with an Internet time server. We need to disable this by toggling off ‘Set time automatically’.
- Manually Set the Date and Time: After disabling automatic synchronization, we’ll see the option to manually change the date and time. Here, we select the date and time that correspond to when we want the email to appear as if it was sent.
Once these modifications are made, our system’s clock will reflect the backdated time. It’s crucial to remember to reset the time settings to automatic once we complete the task at hand, to avoid any future time-related discrepancies in our work or personal schedules. Remember, any email we send out while the system time is changed will carry the backdated timestamp.
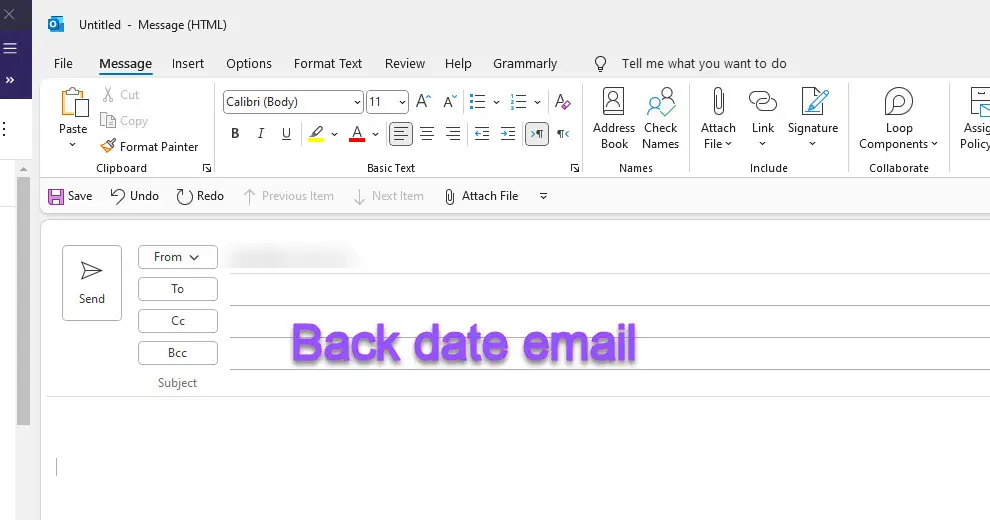
Step 2: Composing the Email with the Desired Backdate
Once we’ve set the system date and time to reflect the desired backdate, it’s time to compose the email. We’ll launch Outlook and create a new email as we normally would. It’s crucial that we double-check the altered date and time in the bottom right corner of our computer screen; this ensures that our email timestamp will match the backdate we’re aiming for.
As we write the email, we should keep in mind that the content should align with the date we’re backdating to. For instance, if it’s an event reminder or a project update, the details must be consistent with that past date. Here are some points to consider:
- Subject Line: It should be appropriate for the backdated time frame.
- Email Body: Align the tone and information with the previous date.
- Attachments: If including files, ensure their properties don’t betray the actual creation date.
After we’ve crafted our email, we’ll head to the “Send” button. However, we’ll resist the urge to click it right away. Instead, we’ll take a moment to cross-verify everything:
- Is the system time correct?
- Does the email content reflect the chosen backdate accurately?
These checks are vital to maintaining the integrity of the backdated email. Once we’re certain everything aligns perfectly, we’ll proceed to send the email to its intended recipient. We’ll then immediately revert the system’s date and time settings to automatic, as the ongoing accuracy of our time-related activities relies on it.
Step 3: Changing the Sent Date and Time
Once we’ve set up the basic framework of our email, it’s time to tackle the core of backdating – changing the sent date and time. In Outlook, the ability to modify the sent timestamp can be a bit hidden, but with the right steps, it’s definitely doable.
First, we need to open the properties of the email we’re composing. To access the properties, click on the ‘Options’ tab in the ribbon of the new email window. Here, we’ll find a section titled ‘More Options’. Clicking on the little dialog box launcher, indicated by a small arrow in the bottom corner, will open the ‘Properties’ window.
Within the properties window, there’s a field for ‘Delivery options’. Here’s where we can set a Do Not Deliver Before date and time. This feature doesn’t exactly change the timestamp of when the email was composed but controls when it will be sent out from your outbox.
- Select the checkbox next to ‘Do Not Deliver Before’.
- Pick the date and time that we want the email to appear to be sent.
It’s crucial that we don’t rush through this step. We must ensure that the date and time correlate perfectly with the backdating we aim to attain. Once this is set, the email will be held in the outbox and sent only when our chosen date and time are reached, thus achieving the effect of a backdated email. Remember, the timestamp will now reflect the time the email gets sent, not when it was written.
After we’ve configured the delivery options, we must keep our Outlook program open or at least running in the background. If Outlook is closed, the application won’t process the sending of the email at the designated time.
Step 4: Ensuring Ethical Usage of Backdating Emails
When we delve into the world of backdating emails, it’s vital to tread carefully. We must recognize that ethical considerations come into play. Backdating digital correspondence can be a legitimate practice for organizing our communications, but it carries the potential for misuse.
Our intention should always be transparent and above board. For legal and professional reasons, we must ensure that backdating is not used deceptively or for any fraudulent purposes. This involves:
- Respecting privacy rights: We don’t tamper with or alter another person’s email without their consent.
- Adhering to legal standards: Ensure compliance with relevant laws and regulations that govern electronic communication and digital documentation.
To guarantee that we’re using backdating appropriately, we can consider the following actions:
- Documenting our actions: Keep a record of why and when we backdated an email.
- Informing recipients: If appropriate, let the recipients know that the email was backdated for organizational reasons.
Moreover, we must be keenly aware that our recipients may interpret backdated emails with suspicion. It’s part of our responsibility to anticipate questions or concerns and be prepared to provide a clear rationale for our choice to manipulate the timestamp. Transparency fosters trust and helps maintain the integrity of our communications.
It’s essential to remember that while backdating can be a useful tool, its application must always align with a framework of ethical standards and legal compliance.
Read Also: How to make MS Excel default on Mac
Conclusion
We’ve navigated through the intricacies of backdating emails in Outlook and now understand the importance of precision and responsibility in this process. It’s essential to remember that while tweaking time settings can serve legitimate purposes, maintaining ethical standards is paramount. By documenting our actions and keeping communication transparent, we safeguard our professional integrity. Let’s use these insights wisely to ensure our backdated emails are both accurate and above board.